

Each mission offers up an “Aftermath” dialogue at the beginning which details what would have happened in a real life event: in this case the British pierced the enemy line in two places like Nelson at Trafalgar and proceeded to decimate the (albeit) wrong force (hey, a kill is a kill). After some time the British Commander realized they were not attacking the intended target (the spearhead of the assault force) and called off the attack. All was not lost however as the decisive British engagement left the Soviet 48th Guards understrength and unable to participate in future combat operations.
Note: This scenario is chronologically out of sequence as it takes place prior to the “Thin Blue Line” and “Behind Enemy Lines”.
Game Options

I am playing the scenario in full 30 minute (simulated) turns. There are a total of 24 turns and this scenario will grind through every last one of them, so enjoy!
Realism Options

NATO units are intended to use stealthy movement by default which enables them to utilize any available local cover and concealment to optimal advantage while moving. The Warsaw Pact forces typically put a premium on high speed movement and overall formation cohesion so they would generally not utilize stealthy movement.
The Electronic Warfare Intensity Level slider is largely irrelevant as the scenario designer sets the degree to which jamming takes place: in this scenario the setting is low.
Order of Battle

There are a number of screens relating information regarding the scenario before the game begins, one of them being the OOB for the friendly forces. Here I have The Queen’s Own Hussars, The Scott’s Guard, 2nd Battalion the Royal Anglican Regiment, and the 40th Royal Artillery Regiment. Off map supporting assets consist of three flights of Tornado strike aircraft (two per flight).
There are no ground reinforcements during this scenario.
Critical Units

The Challenger 1 is a first line Main Battle Tank that features a 120mm main gun and a unique combination of special characteristics that give it a slight edge over the Soviet MBT.
For this scenario I will have 36 Challenger 1 MBT’s available as front line units from the start.

The Warrior APC is a first line armored personnel carrier that features a 30mm autocannon, and several infantry dismounted weapons (MG, AT, etc.)
I will have 36 Warrior APC’s available as front line units from the start.

The M109 A2/3 155mm Howitzer is a self-propelled medium artillery vehicle that features smoke, chemical, FASCAM, as well as the devastating 155mm round.
I will have a total of 32 M109 Howitzers available (for the first time these forces are featured on the map as a tangible asset and not as an off map abstraction).

The Lynx Attack Helicopter is an air asset which features anti-tank guided missiles.
I will have a total of four Lynx helicopters (grouped into two flights each) available from the start.

The Combat Engineer Vehicle is a support unit that has the capability to construct bridges, lay mines, and improve positions. This is the first scenario from all of the FPG games that I have played so far where there is an actual engineer component featured on the map (previously these vehicles were part of other non-engineer units and I never used them to their fullest potential).
I will have six Combat Engineer Vehicles available as specialist units from the start (although the two platoons they are split into also have four FV-432 APC’s each, making them a potential second line fighting force).
Pregame Setup Phase One

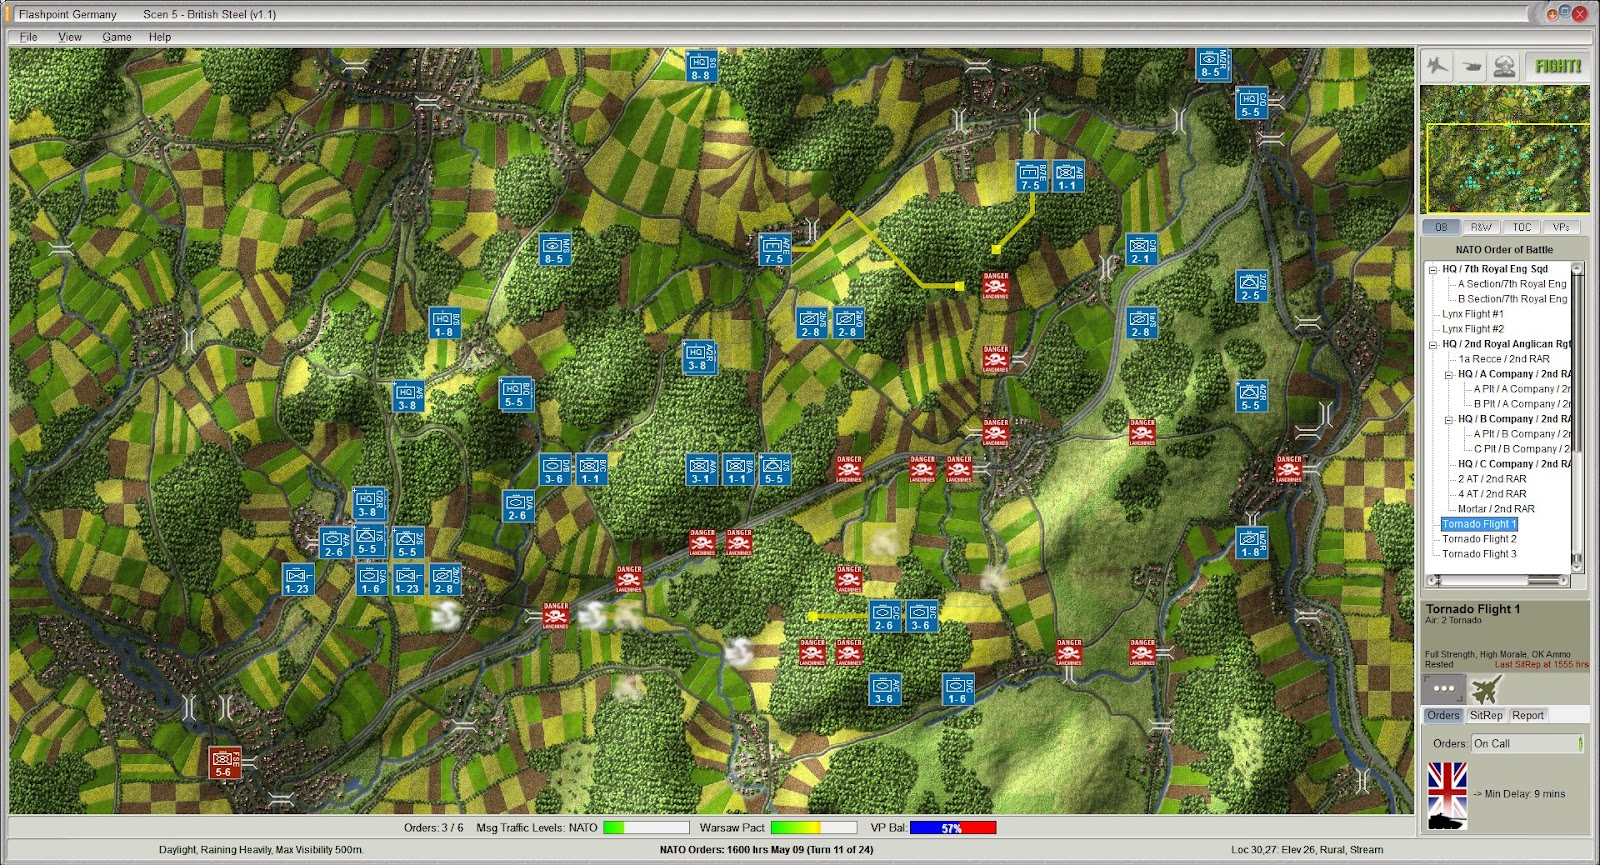
This is the pregame setup phase where I can take the default disposition of forces and drag and drop them where I like within the blue bounding box. The game map replicates an area of the western portion of the Federal Republic of Germany measuring 20 km X 15 km, while each grid square represents 500 meters.
Objectives

NATO has Victory Points available in Sector 10 (30) and Sector 11 (30), while the Warsaw Pact also has Victory Points available in Sector 10 (55) and Sector 11 (55). At the start of the scenario neither side has any forces in the objective areas and therefore is not in control of anything from the beginning.
“Occupying a Quadrant” means having a preponderance of force as measured in unit steps in that quadrant. All that is required is that one side has even one step more than the other for it to be considered occupied. “Clearing a Quadrant” means reducing the number of enemy steps in that quadrant to below 10.
Pregame Setup Phase Two

One of the things that I like to do when I have a large number of forces is to spread them out inside the bounding box in an almost organizational chart format so I can visually see what I have available to work with. This helps me formulate a plan of attack and what I should consider holding in reserve (if anything) based upon what I know at the moment.

The massive amount of forces portrayed on the map at the start and the need to move them into fighting positions within the objective sectors necessitates stacking units and issuing movement orders to several units at once to optimize line-of-sight opportunities in a standoff position from the autobahn.
To augment their advance several of the dedicated AT units are brought to the blue line of the bounding box and situated where they have excellent line of sight to the roadway below.
Mortar units are ordered to barrage with Neutralizing Fire the sighted Warsaw Pact units on the map, while the four batteries of 105mm Howitzers are ordered to deploy FASCAM along the main roadway the Soviets will be traversing.
Of course no plan survives contact with the enemy and I am well aware that what is shown here very well might fragment and dissolve in the face of enemy fire. Nonetheless the Victory Point balance meter on the task bar is at 50% because neither force has any units inside the two objective sectors and I cannot possibly win the scenario by sitting here and doing nothing
Combat Action

Turn one ends in a complete blood bath for the British. Once again suspect medium to long range fire from the armor units is tilted in favor of what appears to be a superior Soviet force. For the majority of the turn it would seem that for every NATO miss there would be a Warsaw Pact kill, and for every British kill there would be two or more Soviet kills.
Losses: NATO (72) Warsaw Pact (29)
Additional orders: I simply cannot sustain this loss ratio and although the scenario is 24 turns in length I doubt I will survive until the halfway point. The push into the objective areas from the west has been checked and routed, with entire units eliminated in a single turn. All artillery that has FASCAM is ordered to continue deployment, and I also order a Neutralizing Fire barrage against a group of Soviet MBT’s that have breached my line and are pushing into support areas.

At the completion of the second turn the situation for NATO looks dire as several armor units have raided behind my line and are forcing various support units to scoot based on the SOP Doctrine in effect, which is disrupting Fire Support Missions.
Losses: NATO (95) Warsaw Pact (60)
Additional orders: Due to high message traffic on the part of the Warsaw Pact, a HQ unit has been revealed at grid 30-22 and any available artillery unit capable of barrage fire is ordered to attack that location. The two remaining helicopter units are ordered to assault back behind the line to hunt for the Soviet breaching force.

Turn three wraps up with more death and destruction on the battlefield with an interesting twist in that the Victory Point balance meter on the task bar is down to 61% for the Soviets.
Losses: NATO (108) Warsaw Pact (74)
Additional orders: I decide to utilize a dug in group of armor units above the autobahn to act as a sort of screen so I can move the various forces arrayed behind them into the objective sector to tip the Victory Point balance closer to my favor.

Turn four ends and the Soviets continue to chip away at my forces, however the ad hoc screen above the roadway is serving its purpose for the moment as the various armor units move towards the objective area.
Losses: NATO (110) Warsaw Pact (80)
Additional orders: my first air asset reinforcement arrives at the end of the turn and I order them to attack at the indicated grid. My sole reserve armor component, C Squadron QOH (Queen’s Own Hussars) is ordered south along the east border of the map in an attempt to catch the Soviets by surprise. In order to not effective waste them either, the lone reconnaissance unit on that side of the map is ordered forward to scout for any disaster in the making.

The Victory Point balance meter on the task bar has moved in the favor of the British for the moment at 56%. The sortie by the Tornado flight was very successful accounting for four Soviet MBT’s kill claims at the loss of not a single aircraft.
Losses: NATO (112) Warsaw Pact (87)
Additional orders: all artillery is ordered to execute a Neutralizing Fire barrage against known Warsaw Pact locations save for two batteries of 105mm Howitzers which are left On Call.

During turn six (which went rather quickly) the battlefield visibility changed to an abysmal 500 meters or less which effectively grounds air operations.
Losses: NATO (112) Warsaw Pact (92)
Additional orders: although another reinforcement flight of Tornado strike aircraft had arrived at the end of the turn, due to prevailing weather conditions on the battlefield there is nothing that I can do with them at the moment. Various individual units are repositioned as indicated with their friendly waypoints (the yellow lines) showing on the map.

At the end of turn seven the weather has not improved to allow for any decent visibility, so the exchange of fire was light and the resolution phase went quite fast.
Losses: NATO (114) Warsaw Pact (93)
Additional orders: C Squadron QOH (Queen’s Own Hussars) has their current Move orders altered to send them into heavy cover and concealment and more substantially within the objective sectors. I also pull down any reconnaissance units in the north in order to have them staged for a run south if needed to turn the battle as the situation may warrant later on.

During a rapid turn eight visibility did not improve, so the third Tornado reinforcement flight to arrive cannot sortie on the battlefield.
Losses: NATO (114) Warsaw Pact (93)
Additional orders: during the resolution phase of the turn several Warsaw Pact forces were revealed behind my lines which caused the engineer units to scoot based on their SOP Doctrine. I edit this to effectively turn them into fighting units and order them to assault the last known enemy location area.

I was eating cold pizza during turn nine and could not be
bothered to draft any witty comments about how bad this battle is going as I didn’t
want to get grease on the keyboard or mouse…
At the end of turn 10 little has changed in the situation. The tanks of the Queen’s Own Hussars that were brought forward into the objective areas encountered a Soviet MBT unit, and even though it was driven into a minefield as a result the enemy did manage to destroy two Challenger tanks from D Troop.
Losses: NATO (116) Warsaw Pact (94)
Additional orders: I have three flights of Tornado strike aircraft sitting on the damn tarmac that cannot fly due to the weather.
Damn it to hell and back!!

The move to change the engineers into front line fighters proves disastrous as they are decimated by the Soviet armor they encounter.
Losses: NATO (121) Warsaw Pact (95)
Additional orders: the engineers are ordered to back away from the sighted enemy units to avoid even greater loss. Supporting fire is provided by two of the artillery batteries and the on map mortar units within range.

Losses: NATO (121) Warsaw Pact (100)

Losses: NATO (121) Warsaw Pact (102)

At the end of turn 14 I have been collecting a handful of artillery barrage kills in the south, and continue to fire two batteries in that area while leaving two On Call.
Losses: NATO (121) Warsaw Pact (105)
Additional orders: Various units are incrementally moved forward into the objective area.

There were no kill claims on either side during turn 15;
however I begin moving various support and HQ units into the objective area in
an attempt to swing the battle more in my favor in terms of Victory Points.

No one died during turn 16 so additional movement orders are
given. Although visibility is grounding any air sorties from occurring, it does somewhat help screen my movement into the objective areas.

Turn 17 ends with no losses and additional movements are
ordered, as well as an artillery barrage at the indicated grids.

Losses: NATO (121) Warsaw Pact (106)

Losses: NATO (121) Warsaw Pact (108)

Losses: NATO (122) Warsaw Pact (108)

Losses: NATO (124) Warsaw Pact (109)

Losses: NATO (124) Warsaw Pact (109)

Losses: NATO (124) Warsaw Pact (109)
Additional orders: during the turn the helicopters revealed several Warsaw Pact units within the objective sector, so I order all artillery with suitable munitions left to barrage the indicated area with Neutralizing Fire.

The game ends in a Marginal NATO Victory outcome. Given the recent loss in “Behind Enemy Lines”, I am quite satisfied with this result.
A player wins decisively if he nets 180 points or more over the enemy. 105 points or more is a tactical victory, 30 points or more is a marginal victory, and any other result is a draw.
After-action Reports

The Staff Overview and Summary reveals the final score as 170-124, a difference of 46 points (nowhere even close to a Tactical Victory outcome). The unit loss during this scenario was significant, with NATO losing 124 units and the Warsaw Pact losing 110.

The Tactical Operations Center Staff Diary details the number of survivors and the effectiveness of each unit.
The standout unit was C Battery of the 40th RAR which accounted for 13 kill claims without losing a single artillery vehicle to counterbattery fire (or direct enemy action since this was an actual on map unit in this scenario).
Although the first Tornado flight was very successful accounting for four kill claims (all Soviet MBT’s), weather effectively halted air operations for the remainder of the scenario (and the later turn reinforcement Tornados could not fly even a single sortie).
Review Final Situation

The Soviets parked a substantial number of units within the two objective sectors and then simply came to a halt. The abysmal visibility on the battlefield of less than 500 meters for the majority of mid to late game actually benefited me in that I was also able to put a significant number of British units into the same area without being detected.
It is interesting to note that the enemy AI commander did manage a probe into my support area behind the line, but did not move past the end game position. Given that there are no Victory Points in the north the move is somewhat intriguing in that had the AI pressed the issue they most certainly would have caused havoc to my artillery and HQ units towards the rear, disrupting fire missions and other vital battlefield communications.
Post Mortem
For the British Army of the Rhine this is an acceptable scenario to close out on for the game. It featured the largest component of British forces fighting as NATO, and was an enjoyable engagement except for one glaring scenario design issue.
I am not sure if the game models variable weather conditions from one play to the next, however if it does not than that means the mission designer intentionally crafted an environment where reinforcement aircraft could never be utilized due to the forced lack of visibility from possibly scripted weather events.
I would like to believe that if I played this scenario again, the weather would be different (not scripted).
This scenario was played 9/11-12 on a Windows 7 machine.
No comments:
Post a Comment
Note: Only a member of this blog may post a comment.