There are two objectives in the mission – the primary being to sink the Fleet Carriers and the secondary to sink the Escort Carrier. This is a tall order because the Allied Task Force is enormous and by this point of the war the ASW capabilities of the Americans and British were so advanced that even the most sophisticated craft that Germany could field was manned by relatively inexperienced crews that practically set sail to their death on a maiden voyage.
The default submarine selection is a Type XXI (1944 series)
U-Boat with a Regulars rated crew, and as with other single player missions I
am running the game at a moderately increased realism setting of 49%.
In the Crew & Damage Management interface I load up the
bow torpedo room to maximize efficiency in an effort to offset the realistic
torpedo reloading time setting that I am using in the advanced difficulty parameters.
My U-Boat begins the scenario submerged with the Task Force off of my port side some 8 kilometers away. This is not an advantageous position to be in due to the sheer size of the Allied surface fleet.
The carriers are steaming directly north and the various
escorts will swarm me if I do not move.
All three objectives are lined up however this will not last
long once I am detected.
Presently I am sitting 1 kilometer off of the course of the
carriers some 4.9 kilometers ahead of them.
Seeing a clear gap between the escorts and the carriers, I
move ahead to pierce the protective layer and attack the targets at close
range.
Tubes one, two, five, and six are T III (G7e) electrics (with five and six also having FaT II pattern running capabilities), while tubes three and four are T I FaT I (G7a) gas/steam torpedoes. The electrics have a range of just 5 kilometers which greatly reduces my ability to perform any kind of standoff engagement given how much area the escort screen is taking up.
The gas/steam torpedoes are not desirable in daylight conditions as they leave a visible wake on the surface and are easily detectable at this point of the war. They are best used close range where the target has little opportunity to evade.
I would fire tubes one and two configured to a 5 meter depth and an impact pistol setting at a range of approximately 1 kilometer aiming at the fuel bunkers before the start of the superstructure of the first carrier.
Tube five was configured at a 9 meter depth and a
magnetic pistol setting and fired at a range of approximately 2 kilometers
aiming just ahead of the fuel bunkers on the second carrier.
The first torpedo would miss the first carrier because it
began evasive maneuvers since I had been detected by the escorts. The second
fish struck however and this caused significant damage and flooding which
slowed the ship down considerably.
I would immediately configure tube three to a 3 meter depth
and an impact pistol and fire it off at an extreme angle which would successfully
land a crippling blow amidships. I really lucked out here as these types of
desperation shots rarely ever work, most of the time glancing off of the hull
due to the extreme angle on bow.
Tube four was likewise configured and fired at the second
carrier which apparently was not struck by tube five earlier. At a range of
1,253 meters this is a virtual guaranteed hit on the fuel storage area just
ahead of the lock marker (which is rarely the best place to aim).
The first carrier begins listing to the starboard side as
the second carrier comes up on its port side most likely unaware that a torpedo
is heading right at it.
Although the second carrier began evasive maneuvers it was
too late and the fish lands a devastating blow on the starboard hull.
Tube six is configured at a 3 meter depth and an impact
pistol setting and fired at the center of the carrier that was just hit from a
range of 889 meters. This virtually halts both Illustrious Fleet Carriers in
close proximity to each other.
The ASW forces are rabidly pursuing me, dropping depth
charges, firing Hedgehogs, and attempting to ram me every time the attack
periscope breaks the surface.
In all of the confusion of combat I realize I have moved
right into the path of the Bogue Escort Carrier, the secondary objective of the
scenario. Although I have a tube ready, the closing rate is too fast and
nothing arms before 300 meters anyway so firing here would be a wasted fish.
This is a close call as the carrier would have most
certainly destroyed the pressure hull of my submarine had I taken a direct hit.
After clearing the massive ship I turn back towards it and
fire off a torpedo in a desperation shot from 1,100 meters.
The Allies were bringing everything they had to bear on me,
including bombing runs. One time I played this mission I was too close to a
disabled carrier and they actually bombed it, sinking it and denying me credit
for the kill. In an effort to avoid that from occurring again, I move away from
the drifting hulks.
I had two T V (G7es) Zaunkönig I electric passive acoustic homing torpedoes on board, however they were buried deep in the stores and I had to prioritize them forward and fire off enough fish before they would be loaded. These are particularly nasty bastards that would home in on the loudest noise, sometimes the U-Boat that fired it.
Both were fired at the Escort Carrier; however one of them would turn and strike one of the disabled Illustrious carriers, while the other one went off in search of the Bogue.
The hit on the closest carrier would be the final straw.
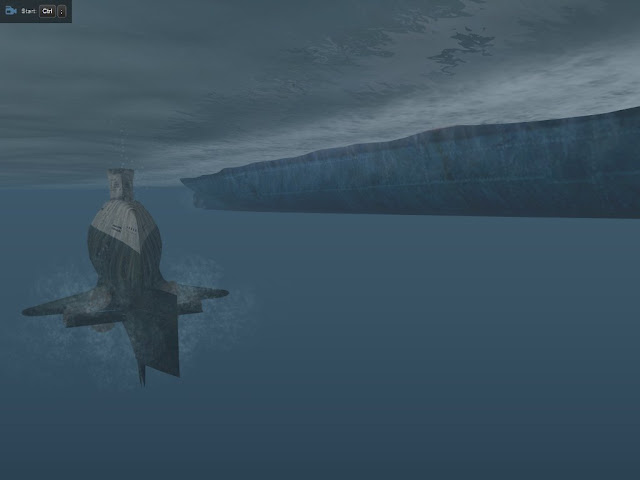
It would slip below the surface to rest on the relatively shallow bottom.
Technically I should have crashed dived to 60 meters and gone
completely silent after having launched the two Zaunkönig’s (for safety reasons),
but I want to win the mission and proceed to seriously push the envelope. The
Allies for their part are doing everything to destroy my U-Boat as quickly as
they can to prevent further loss to the Task Force.
The depth charges are relentless coming from both the
surface destroyers and the attacking bombers.
I would fire another torpedo at the remaining Illustrious
Fleet Carrier from less than 1 kilometer, and this was the kill shot that
finally sent it under.
While checking the Captain’s Log interface I am stunned to
learn that at exactly the same time the second Zaunkönig fired at the Bogue has
struck and killed the giant carrier in one shot.
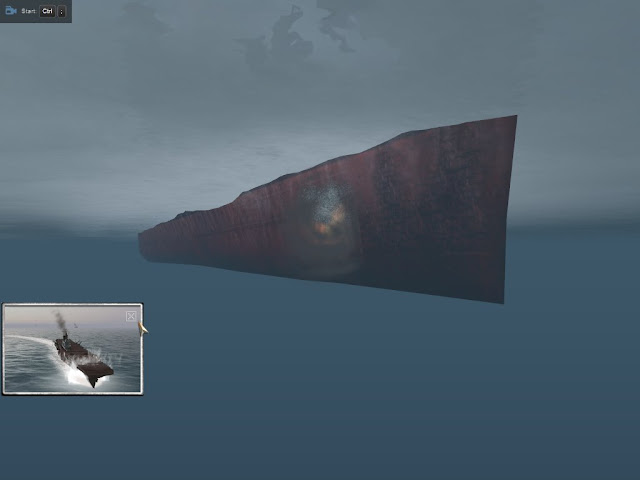
I quickly pan over to where the carrier was just a few
moments ago to capture a shot of it heading to the bottom.
Holy shit, I have never won this mission before in my life.
I should have called it quits here but I want to escape the
area of operations and surface the boat to avoid the dreaded “U-Boat lost”
message in the after-action report (which is personal preference and not
required to successfully complete the scenario).
I try to move away from the escorts however it seems to be raining depth charges at the moment.
The hull is taking a pounding and is down to 84% integrity
while I have flooding in the command room.
Try as I might to shake the Allies, there were two destroyers that tailed me relentlessly.
This round of Hedgehog grenades added additional damage that
I could not keep up with.
After-action Report
I immediately receive the AAR panel noting my destruction, with the depth charges that finally did me in still visible in the image. The cumulative damage was just too great to keep up with and a direct strike on the rear of my conning tower was the fatal stroke.
Three Allied warships sunk for 60,055 tons for the loss of one brand new U-Boat and a crew of 50 submariners, the first true lot of their kind in this type of vessel. This would have been a propaganda coup in Germany, however by this part of the war it clearly would have been too little too late.
Post Mortem
I have no problem losing the boat at the end of this scenario as I feel the mission played out exactly as it should have. Given the parameters of the single player set (missions are individual vignettes and are not interconnected), I count this as a victory in my book because I sunk three carriers when in real life the Type XXI U-Boats only accounted for two wartime patrols and no vessels sank (yes I copy and pasted most of this paragraph from the Post Mortem of my last entry as it fits).
This is a very difficult mission to play in that the ASW presence in the Task Force is so great the player has little option but to penetrate the lines and directly engage the carriers at close range. I have tried in the past to attack from a standoff range, however the electric torpedoes only have a maximum range of 5 kilometers and I would still be within the fan of the escort screen, and almost always be detected given the advanced assets and trained crews available in late 1944.
This mission was played on 8/7/15 on a Windows 7 machine.


No comments:
Post a Comment
Note: Only a member of this blog may post a comment.